

Apple released the VisionOS Beta 1 with Xcode 15 Beta 2 yesterday. I had to check this out immediately! In this post I will give you a first glance on how to build VisionOS Apps. Let’s start.
Installation
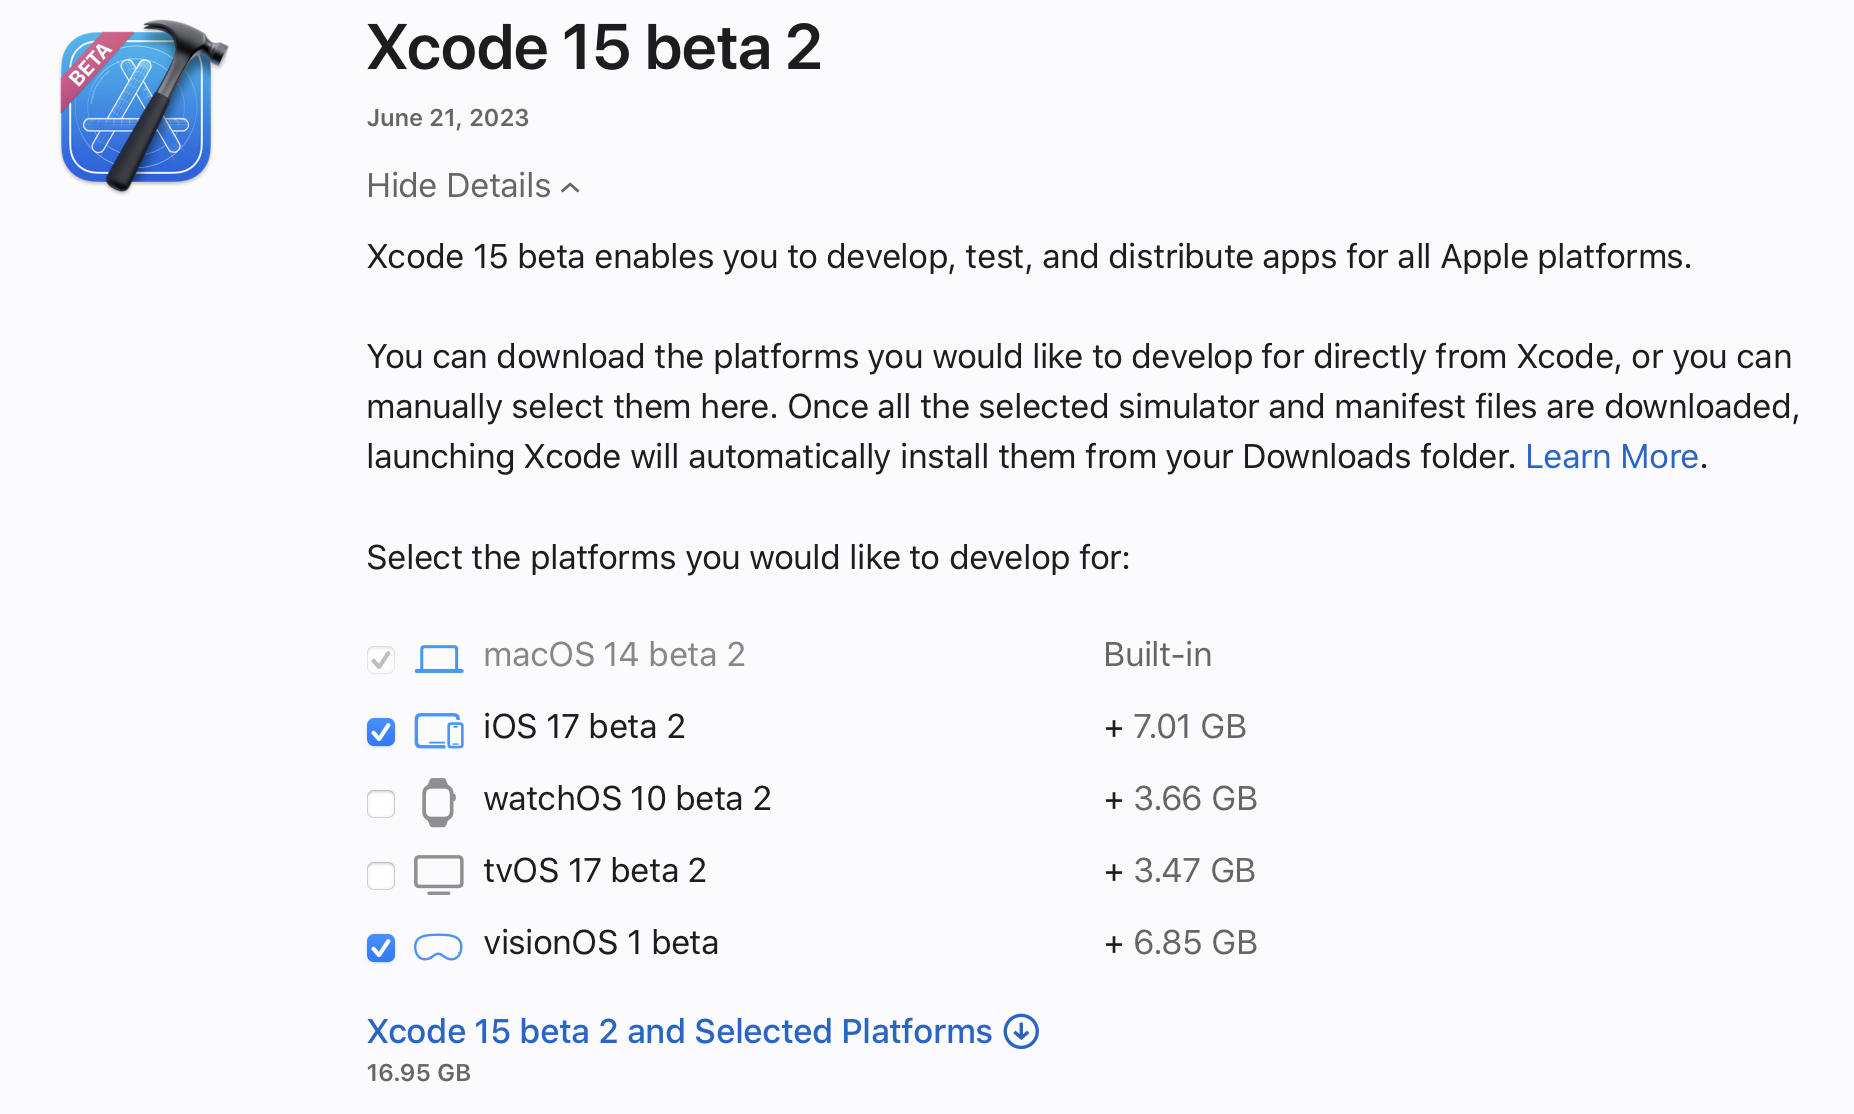
In order to develop for VisionPro you need to download around 17 GB of Software. Xcode 15 beta 2 including the visionOS 1 beta.
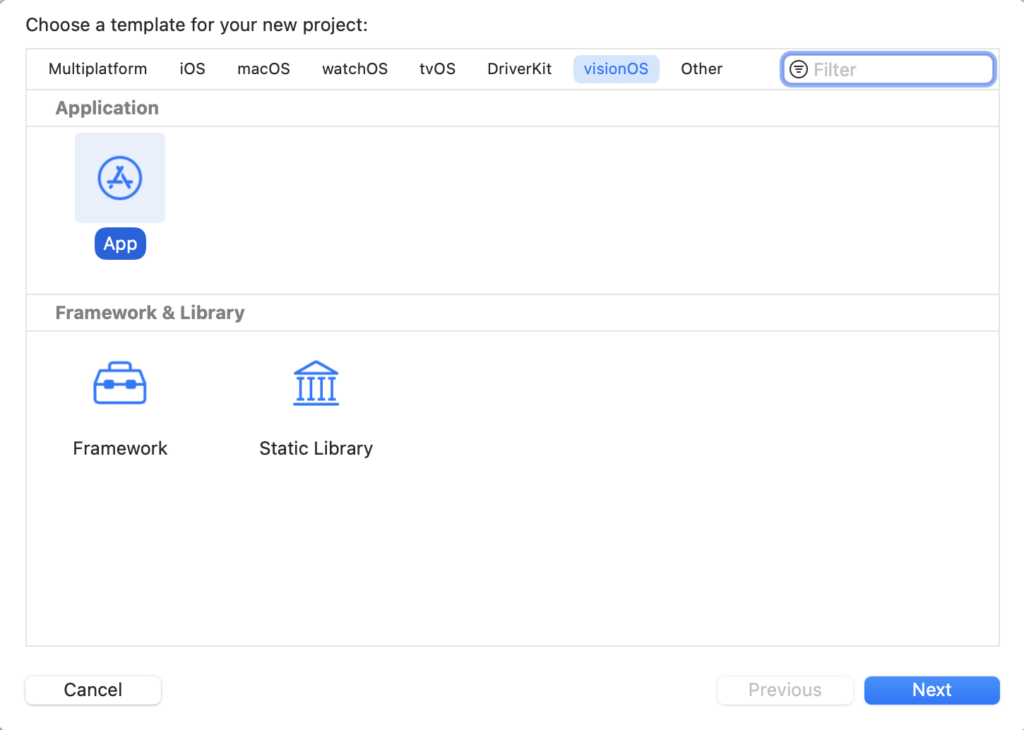
After installation you can start Xcode and will find a new template option to create a visionOS app.
When creating an visionOS app you can select what the initial scene should look like. You can choose between “Window” or “Volume”.
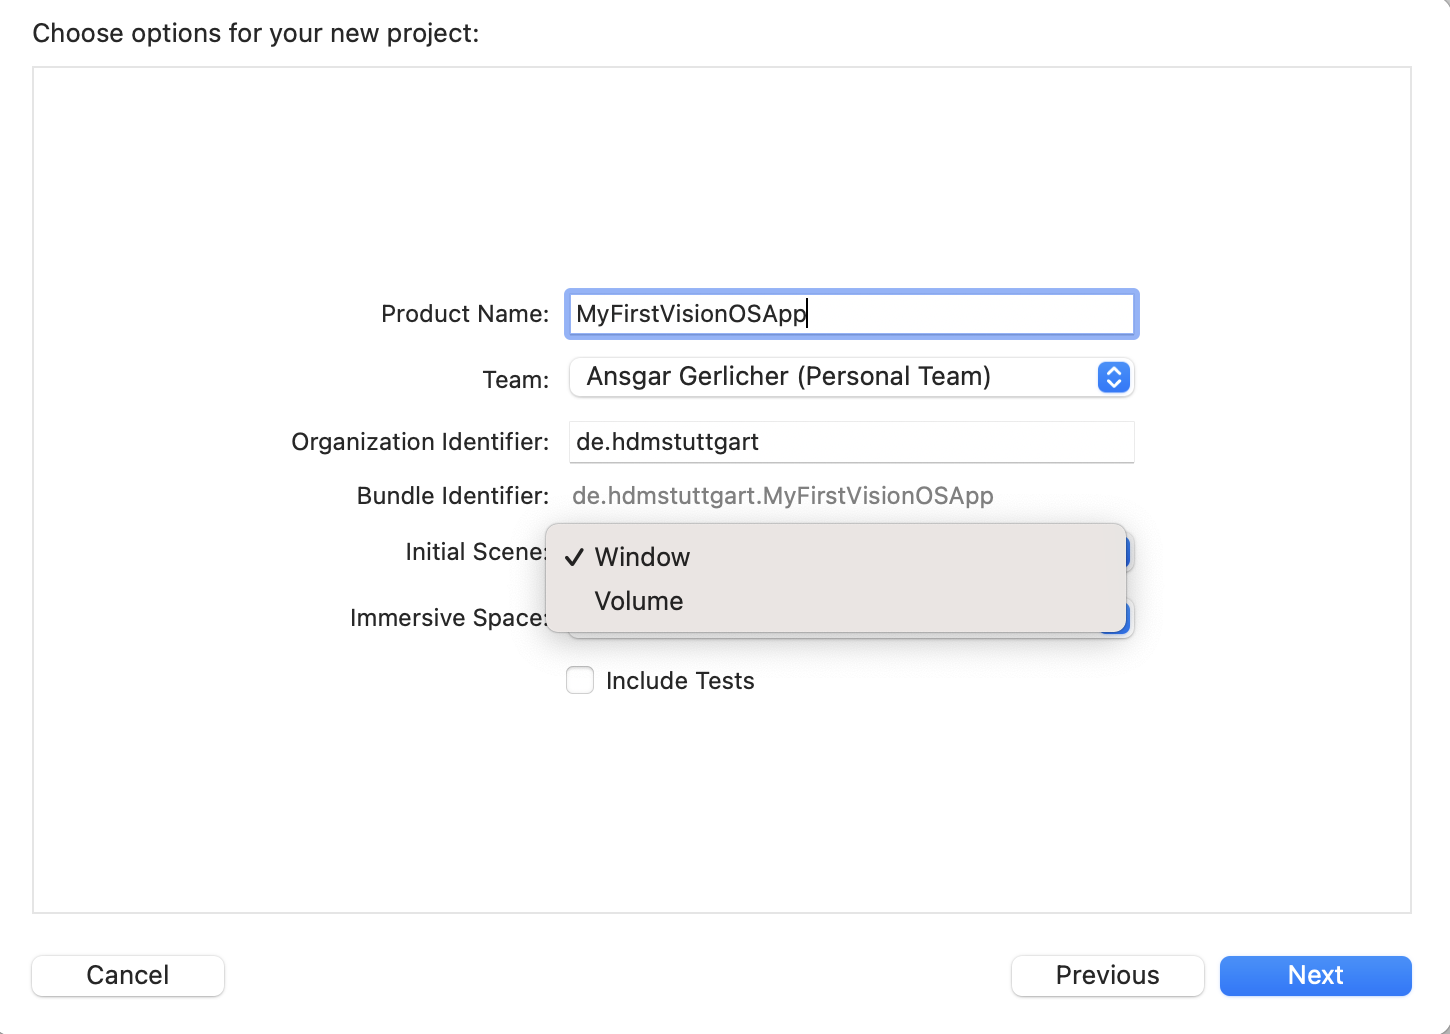
The visionOS app can have different immersion spaces. You can choose between “None”, “Mixed”, “Progressive” and “Full”.
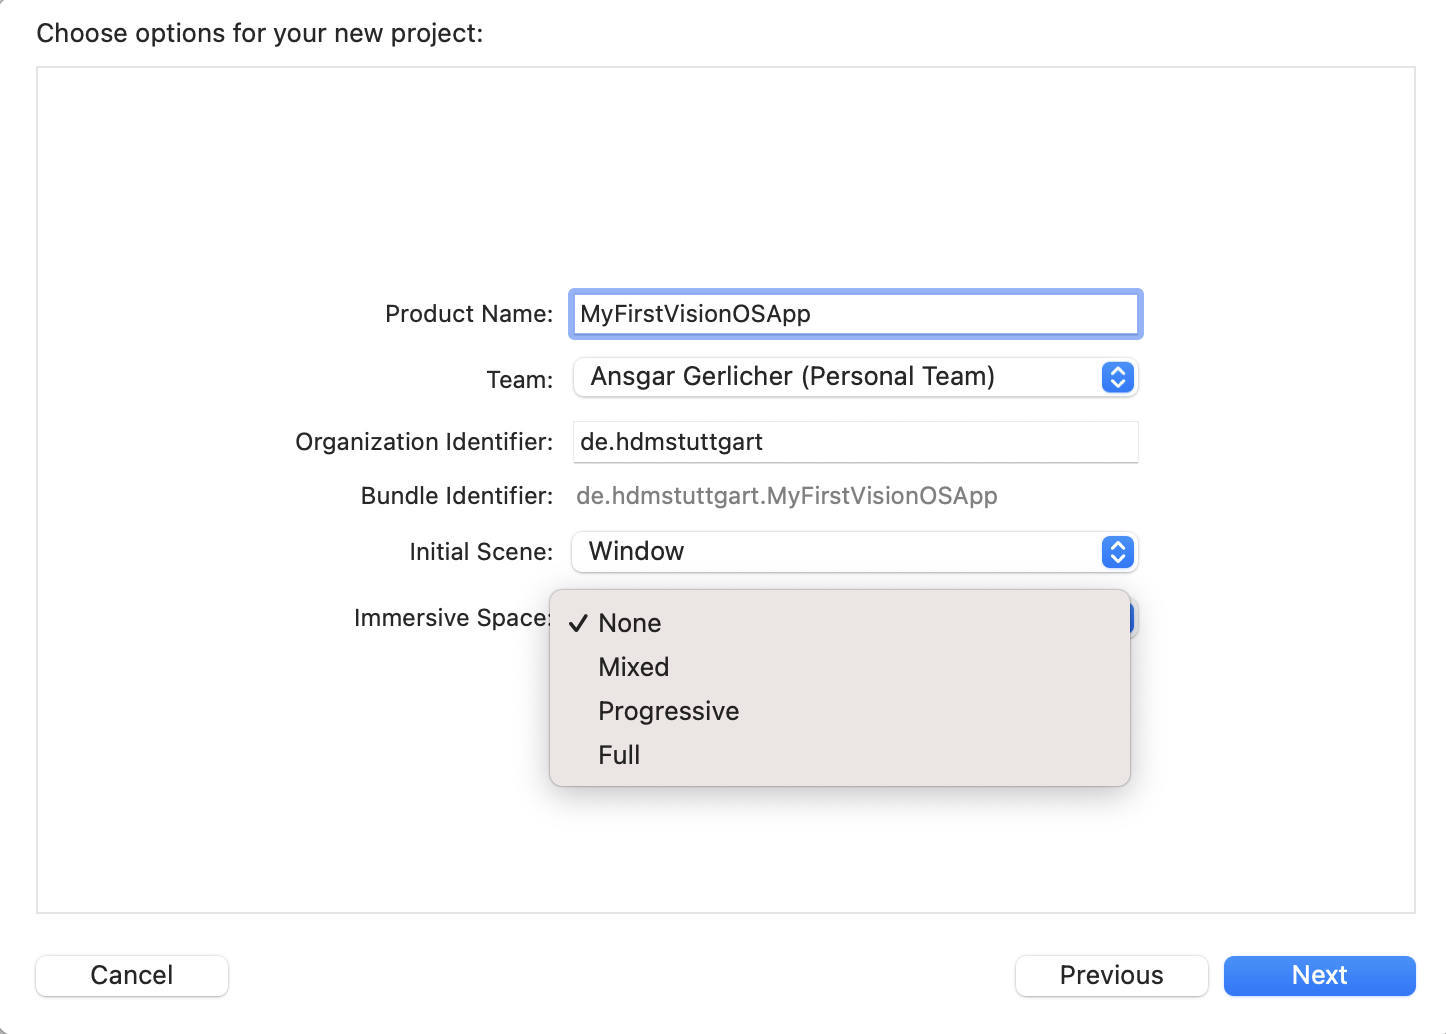
Pressing “Next” will create your visionOS app project. I selected “Window” as initial scene and “None” as immersive space. The generated project looks like this:
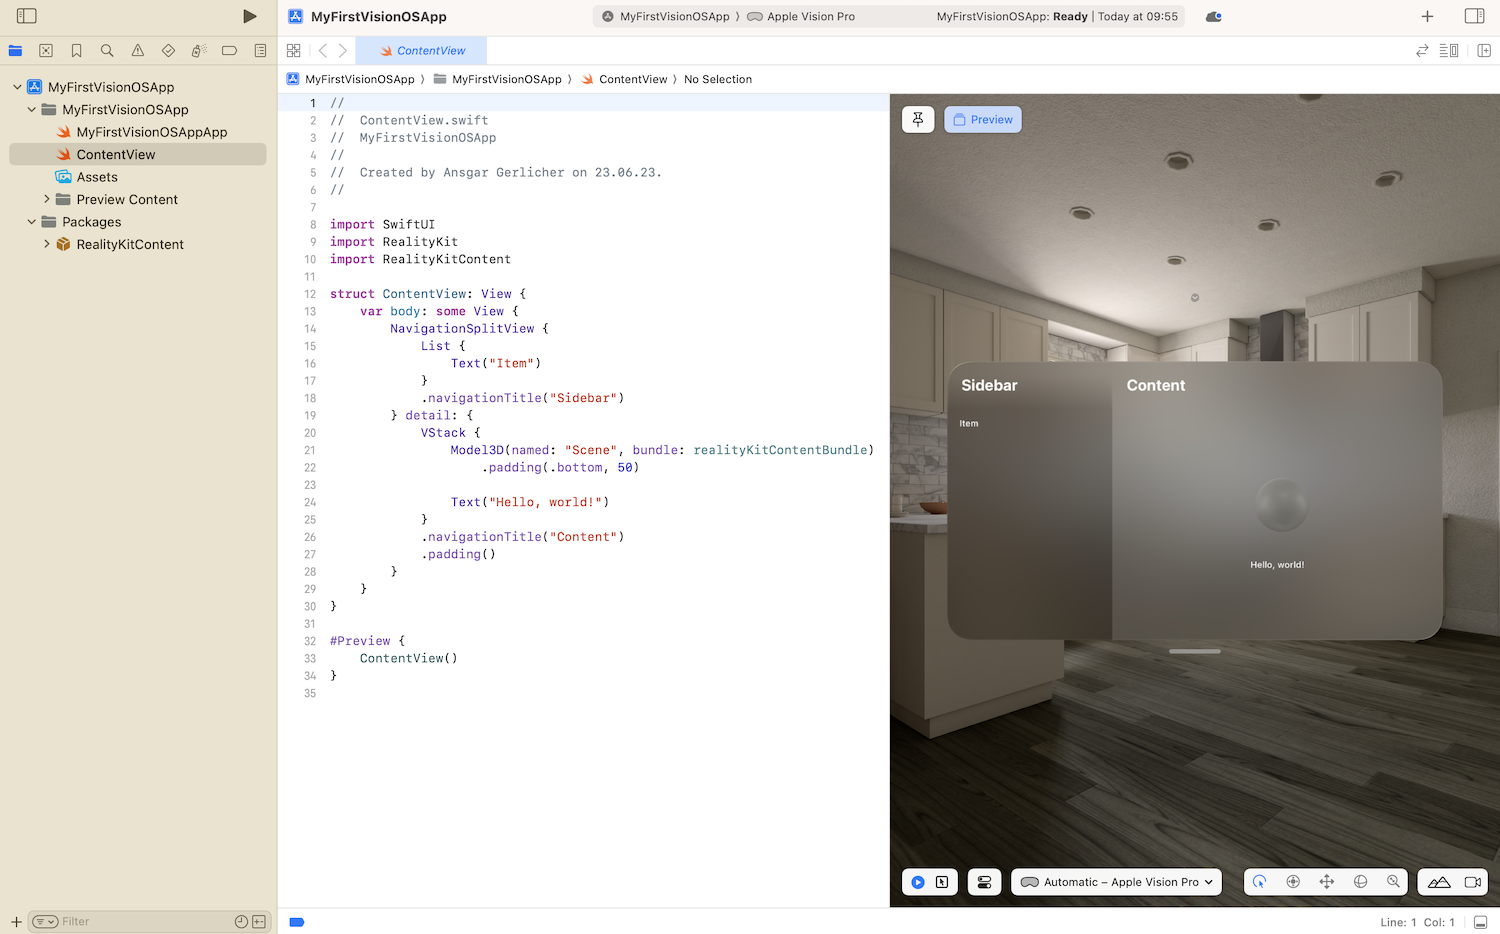
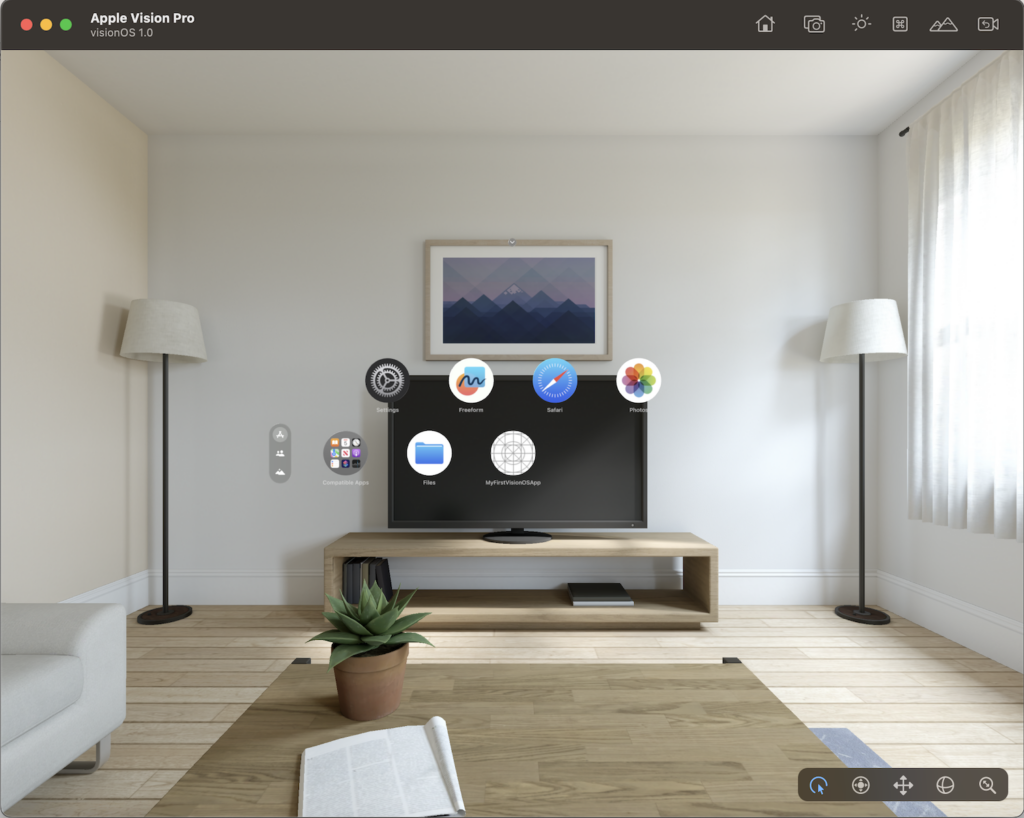
Then you can start the app in the provided VisionPro simulator. Really nice.

That’s the setup process. Now we can start coding!
In the following days I will start with my first visionOS app and will keep you updated on this. Stay tuned!