


The Meta Quest 3 arrived yesterday via mail. I was really exited to try it out, as it is the first real Augmented Reality glasses from Meta that has comparable features to the Apple VisionPro. So it is a kind of a VisionPro light and allows you to get the feeling of how Augmented Reality will look like in the near future, with the Apple headset but for much less money and NOW! So lets, quickly dive in and see what my impressions were…
Installation
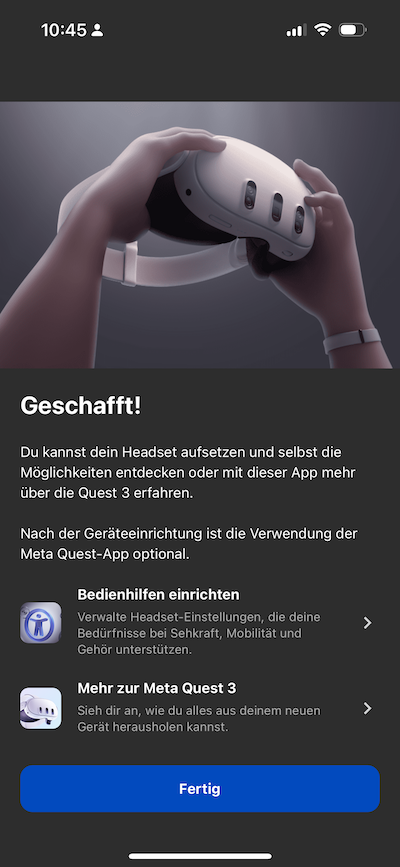
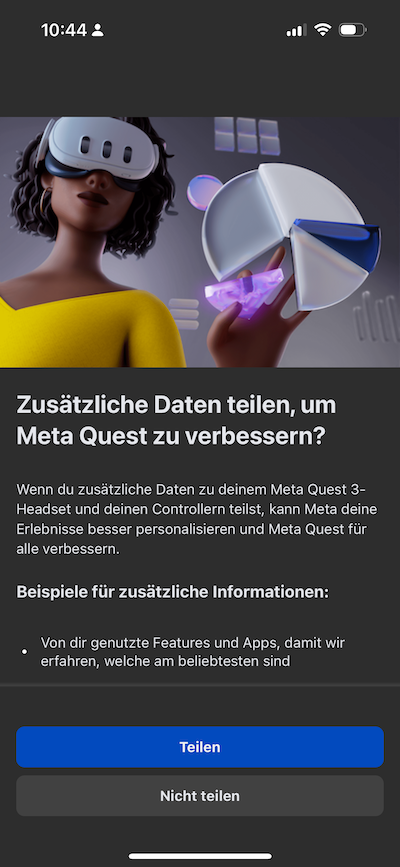
The first step, before you can use the headset, is to download and install the Meta Quest app on your smartphone and create an account. The good news is, you do not need to register with your Facebook account, but can create a new Meta account which is not linked to Facebook. This allows you to stay anonymous in a way and hopefully don’t receive that many advertising spam mails (I only received 9 mails from Meta Quest with information and game advertising until now…). In the pictures above, you can see some screenshots of the installation procedure in the app. It allows you to to define what information others will be able to see from you, when you’re online and you can turn it all off, if you like (which I did). Also, you do not have to send any usage information to Meta. The installation process then switches to the headset at some point where you need to configure your Wifi access. The app shows you an QR code that should allow you to somehow transfer the Wifi password to the headset, which did not work for me, so I had to type it in using the controllers. But that worked fine. After installation of updates for the headset and controllers, you’re ready to go.
Interaction
For interacting with the Quest 3 you can either use the two controllers, that come with the headset, or with your hands. I started with the controllers.
The controllers are really intuitive to use. When you point somewhere you have a little highlighted circle that shows you, where you’re pointing at. By pressing the front button of the controller, you can select buttons and windows etc. The menu button opens (as it says) a context menu which will give you more options. For certain games you can use the X and Y buttons and the little control stick on the top. This depends on the context, but it all works very smoothly and intuitive, especially, if you have some VR experience.
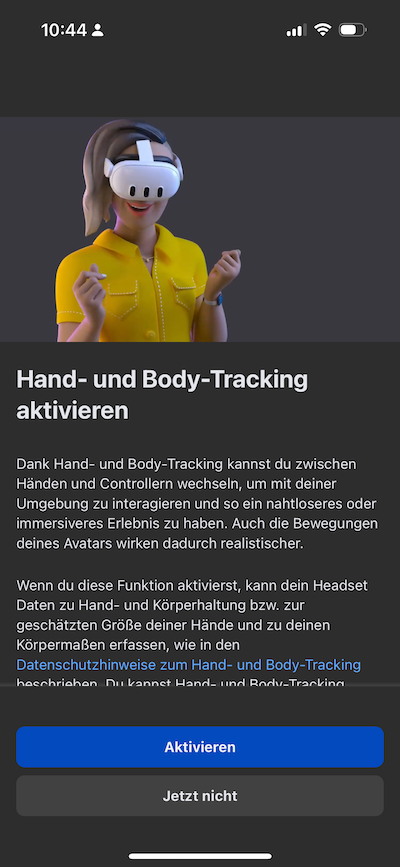
The second option for interaction is by using your hands. For this you need to activate hand- and body tracking in the app first (as shown above). In order to switch into the hand-mode, you lightly bump the two controllers together and then place them on a table. From now on you will see a kind of glowing overlay around your hands. Now you can use certain gestures to interact with the scene. This also works astoundingly intuitive. You can point to a button and “press” on it and your virtual hand will stop at the touch on virtual screen in front of you, which gives you a kind of visual feedback. Also buttons will highlight, when you move your finger over them. You can grab a window and move it in the room to adjust the position. What did not work intuitively for me was to move a window closer to my face so I can better see the contents. But there is an option to automatically place virtual windows in an “optimal” position relative to you, depending on your current location and orientation in the room. The interaction is smooth and there is no noticeable jerking or any other performance issues with rendering, as fas as I could see.
Augmented Reality
What I like very much about the Quest 3 is the Augmented Reality (AR) view, that allows you to see your surroundings, while you navigate through the menus. The resolution of the display is quite good, much better than the previous versions of the Quest, although it is not as good as e.g. the Varjo XR3 , which of course is in a completely different price category. No need to mention, that the VisionPro screen resolution is also much better (but also 6 times as expensive). So I would say this is a really good quality headset for the given price.
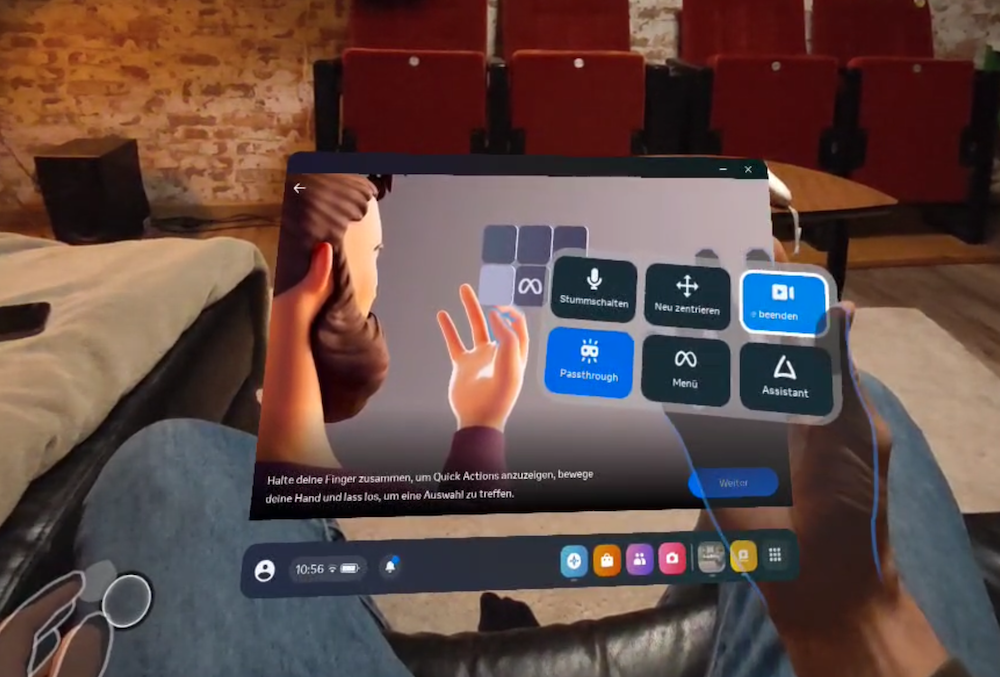
There is a nice tutorial that explains all the different gestures and options you can use to control the scene. In the above screenshot I am using the Meta menu gesture (this is coincidental the same as Apples two finger tap gesture, but with an open hand) to open the Meta menu. This menu allows you to activate or deactivate the passthrough vision, turn audio off and on, centralize your view, record a video of the scene or activate the Meta assistant (which allows you to use voice commands) as well as close the Meta menu again. I also recorded a little video that shows you how the AR view and the VR view looks like, while I am using my hands and gestures to control the scene.
Conclusion
My first impression with the Meta Quest 3 is very positive. It is really amazing how easy everything works in comparison to other VR headsets, e.g. with the Valve or HTC Vive where you need a PC and install special trackers in your room. This is the new way to go, the all in one headset with hand tracking and AR view and enough computing power for games. You still are able to connect your PC to the Quest 3, which is definitely required for some games that need corresponding computing power, such as e.g. Asgards Wrath 2 or others. This headset makes me even more exited about the VisionPro and I can’t wait to get my hands on it, as the promised visual quality and the included eye-tracking (which the Quest 3 does not support) will make it even more useful. Such interesting times to come and AR will definitely have its breakthrough with the upcoming hardware!
I will go on reporting on this topic in the near future, so stay tuned…and thanks for reading!